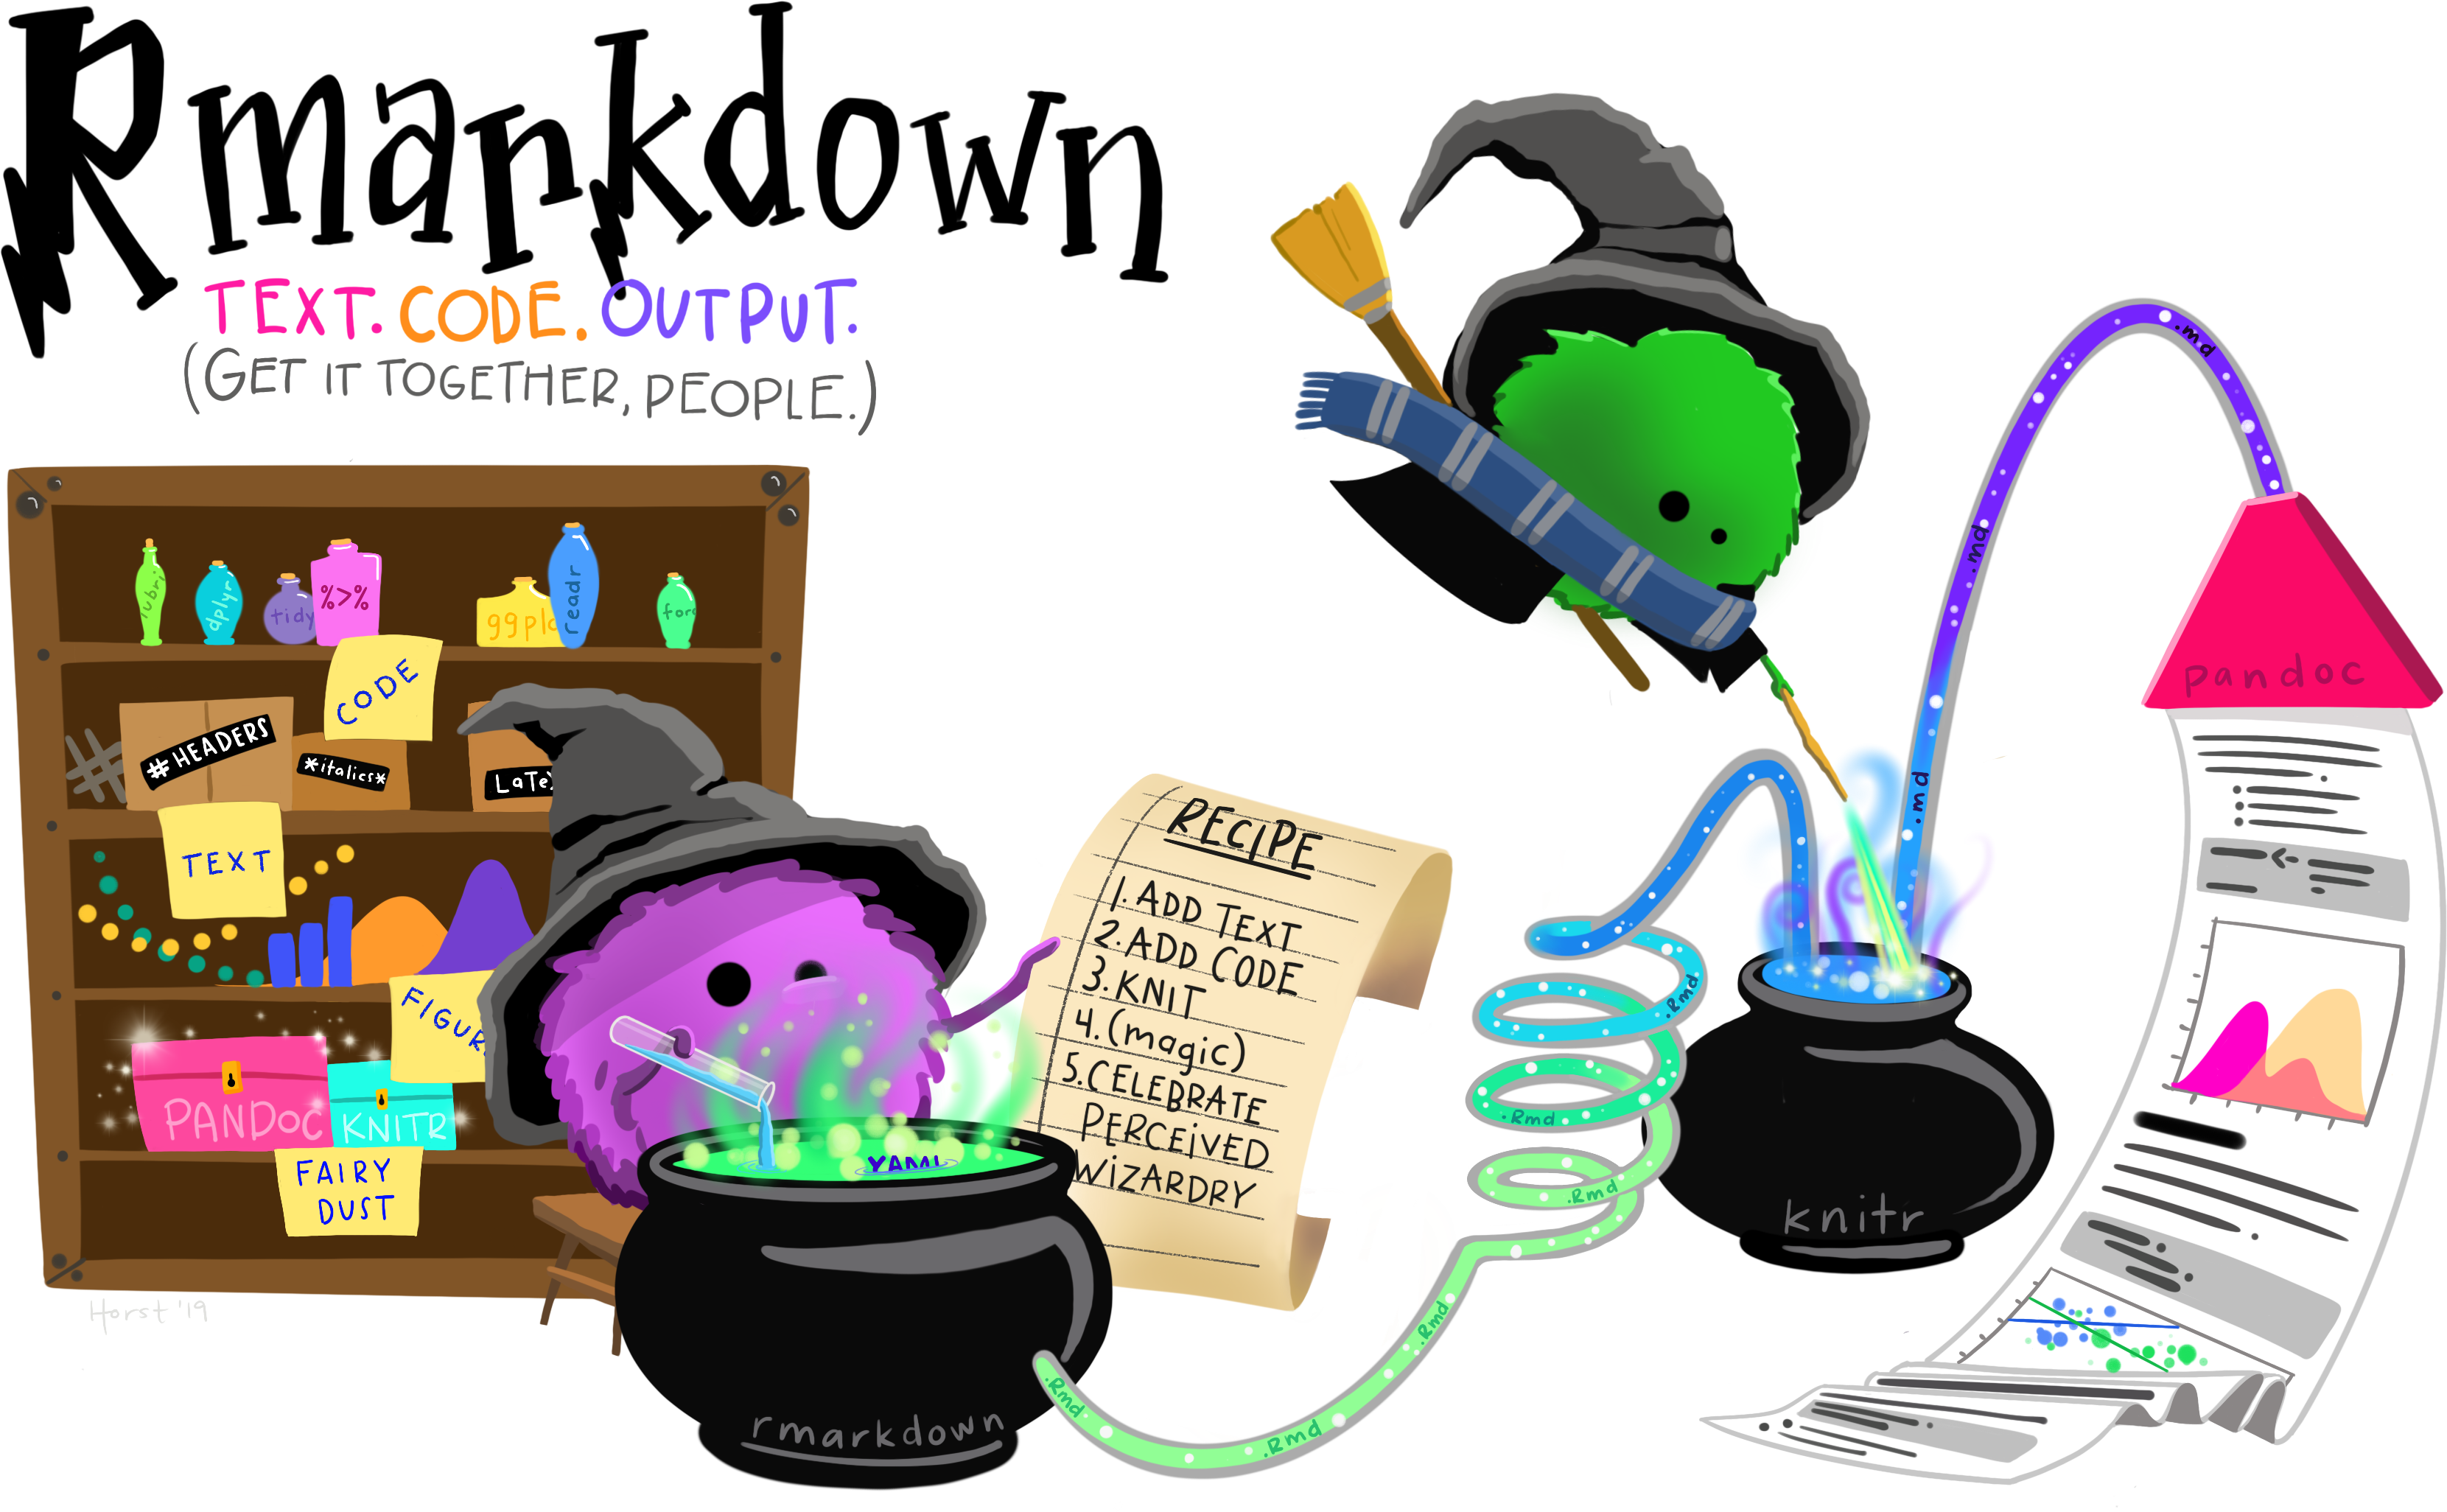
+ - 0:00:00
Notes for current slide
Notes for next slide

Extend The Functionality Of
Your R Markdown Document

Christophe Dervieux

userR!2021 - 08/07

1 / 21

About me

profile picture for @cderv in Github

RStudio • Software Engineer • R Markdown Team

2 / 21

Everyone should know rmarkdown among R users. Its principle has not changed since a long time (md + R = Rmd -> output format) quite easy to start (write text, add code chunk, compile) but it can be harder to learn new skill to be more efficient and get full power.

That is where known recipes can help master more advanced skills. R Markdown Cookbook was thought as a non linear documentation

What happens when it renders ?

R Markdown wizard illustration by Alison Horst Source: https://github.com/allisonhorst/stats-illustrations

4 / 21

We often see these rmarkdown little wizard mixing Text & Code to produce document. Aim is to look deeper into this today. This is not so magic.

What happens when it renders ?

knitr::knit() + Pandoc (+ LaTeX for PDF) = rmarkdown::render()
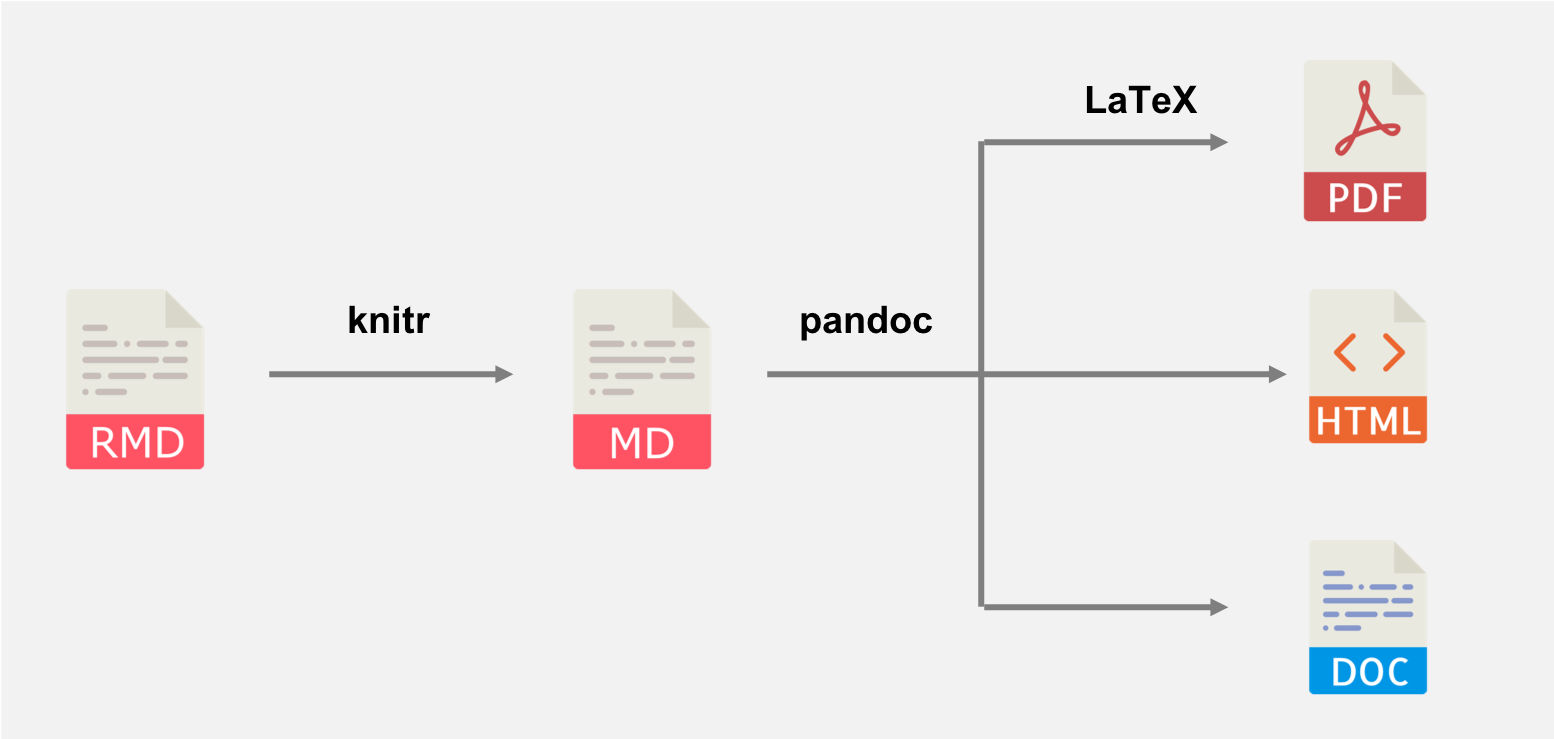
Diagram showing the different step of rendering

5 / 21

This is important to know so that one understand what to tweak to make something works

A simple default report

6 / 21

A simple default report

7 / 21

Do not show source code block

knitr options echo and include

```{r setup, include=FALSE}
# do not show code by default
knitr::opts_chunk$set(echo = FALSE)
```
  • Chunk will be evaluated but no output or source included.
  • Do not show the source chunk as code block. Set globally here
8 / 21

Add alternative text

About fig.alt chunk option

Can be used with an external image

```{r species-img, fig.alt = "Illustration of pinguins species : Chinstrap, Gentoo and Adélia", out.width='60%', fig.align = 'center', echo = FALSE}
knitr::include_graphics("https://allisonhorst.github.io/palmerpenguins/reference/
figures/lter_penguins.png")
```
9 / 21

Add alternative text

About fig.alt chunk option

Or with R graphics

```{r, include = FALSE}
island_repart_alt <- "Horizontal bar chart, faceted by Species showing the number of penguins living on each island, Torgersen, Dream and Biscoe. Adelie lives on the three, whereas Gentoo on Biscoe and Chinstrap on Dream."
```
```{r island-repart, fig.alt= island_repart_alt}
ggplot(penguins, aes(x = island, fill = species)) +
geom_bar(alpha = 0.8) +
scale_fill_manual(values = c("darkorange","purple","cyan4"),
guide = FALSE) +
theme_minimal() +
facet_wrap(~species, ncol = 1) +
coord_flip()
```
10 / 21

Style the output (1)

About the css engine

```{css, echo = FALSE}
/* header in blue */
h1, h2, h3 {
color: #0A7FB2
}
```

Applied directly in the Rmd document without an external css file.

11 / 21

Useful with few CSS like with examples or prototyping for instance. echo = false is important if you don't want to show CSS source chunk in output

Style the output (1)

About the css engine

Using external file :

output:
html_document:
css: mystyle.css

Better suited to share style across documents.

12 / 21

Highlight results

Using Custom Blocks

This is powered by Pandoc's Fenced Divs syntax:

::: {.highlight-box style="text-align: center;font-size: 1.5em;"}
The **`r heaviest_specie`** specie is heavier than other !
:::
13 / 21

Highlight results

Using Custom Blocks

This will be rendered in HTML

<div class="highlight-box" style="text-align: center;font-size: 1.5em;">
<p>The <strong>Gentoo</strong> specie is heavier than other !</p>
</div>
14 / 21

Style the output (2)

How to improve our highlighted results ?

I want to add a border to create a box and apply my blue color.

Can I use variable for color and limit duplication ?

15 / 21

Style the output (2)

Using SASS

SASS Language logo

Sass (https://sass-lang.com) is a CSS extension language that allows you to create CSS rules in much more flexible ways than you would do with plain CSS.

16 / 21

It allows for variables, tweaking functions (called mixins), operations (like /), better CSS rule organisation (nesting, extensions, ...) and more.

Style the output (2)

Using SASS... from R

Support is now built-in rmarkdown

17 / 21

Style the output (2)

Using sass / scss knitr's engine

```{css, echo = FALSE}
h1, h2, h3 {color: #0A7FB2;}
div.highlight-box {
border-color: #0A7FB2;
border-style: solid;
padding: 0.5em;
}
div.highlight-box strong {
color: #0A7FB2;
}
```
```{scss, echo = FALSE}
$color1: #0A7FB2; /* using a variable */
h1, h2, h3 {color: $color1;}
div { /* using nested organization */
&.highlight-box {
border-color: $color1;
border-style: solid;
padding: 0.5em;
strong {color: $color1;}
}
}
```
```{sass, echo = FALSE}
$color1: #0A7FB2
h1, h2, h3
color: $color1
div
&.highlight-box
border-color: $color1
border-style: solid
padding: 0.5em
strong
color: $color1
```
18 / 21

sass syntax is shorter (no ; and { }) but more different from css than scss, so less easy to get started.

In this example and the previous scss one, we are using special SASS features like Nesting and Parent Selector.

This allows organization of CSS rules for easier reading and modifications.

Style the output (2)

About our styled blue box

The custom block we created

::: {.highlight-box style="text-align: center;font-size: 1.5em;"}
The **`r heaviest_specie`** specie is heavier than other !
:::

is now looking in our HTML this way

The Gentoo specie is heavier than other !

19 / 21

A enhanced report

animated gif showing the resulting HTML report including all the changes mentioned previously.

20 / 21

How to go further ?

and enhanced even more your Rmd !

R Markdown Cookbook online book cover

21 / 21

Acknowledgement

  • Emily Riederer and Yihui Xie, for the R Markdown Cookbook
  • Allison Horst for the illustrations.
  • Alison Presman-Hill and Allison Horst for the palmerpinguins 📦 and vignettes.
  • @cpsievert for the sass 📦
21 / 21

About me

profile picture for @cderv in Github

RStudio • Software Engineer • R Markdown Team

2 / 21
Paused

Help

Keyboard shortcuts

, , Pg Up, k Go to previous slide
, , Pg Dn, Space, j Go to next slide
Home Go to first slide
End Go to last slide
Number + Return Go to specific slide
b / m / f Toggle blackout / mirrored / fullscreen mode
c Clone slideshow
p Toggle presenter mode
t Restart the presentation timer
?, h Toggle this help
oTile View: Overview of Slides
Esc Back to slideshow